Photographing Waterfalls: Using Lens Filters


The second of a series, this guide will help the novice camera user take better photos of not only waterfalls, but other subjects as well. Here we cover the basics of using lens filters. This article refers to optical filters, the glass and gels that are applied physically in front of a camera lens, not the software filters on Instagram.
Why use a lens filter?
Lens filters change the properties of light that enter the camera lens resulting in an array of effects, some more subtle than others, in your photos. For the nature photographer, lens filters are essential to creating better photographs. For the waterfall photographer, a few types of filters are critical for controlling reflections and creating that silky look to water. When I shoot landscapes, more often than not, I attach a polarizing filter to control reflections and deepen colors. When shooting waterfalls, I may also stack on a Neutral Density filter to smooth out the water flow and make it stand out from the surroundings. Even when shooting without the need for an effects filter, I like to keep a clear protective filter on my lens to protect it from dirt, scratches, and acidic water.
Why not use a software filter instead?
Software-based filters have replaced many, but not all physical lens filters.
A lot of classic filters, mostly the colorized filters, can now be replicated using software such as Photoshop. In the days of film, black-and-white portrait photographers would often attach a yellow-tinted filter to their lens to highlight Caucasian skin tones on monochromatic film. This type of filter is not necessary in the digital age, and shooting at the camera’s default color and applying a black-and-white filter in post production is more favorable.
Some lens filters do more than just apply color to the photo, they actually change the amount of light entering the lens. These types of filters cannot be replicated accurately in Photoshop.
Can your camera take a lens filter?
SLR and inter-changeable-lens cameras can easily take filters.
Most compact cameras will not, without an adapter.
In order to use filters, you must be using a camera that can accept them. SLR cameras (digital or film) as well as other inter-changeable lens cameras (such as Micro 4/3) can accept filters directly on the lens. SLR lenses have threaded ends upon which a circular photographic filter can be attached. Since one may have many lenses of different sizes and shapes for their SLR camera, it may be necessary to purchase several sizes of the same filter to fit each lens. An option is to buy the thread size to fit the largest lens, and then step-up adapters for all the smaller threaded lenses to be able to use the larger sized filters.
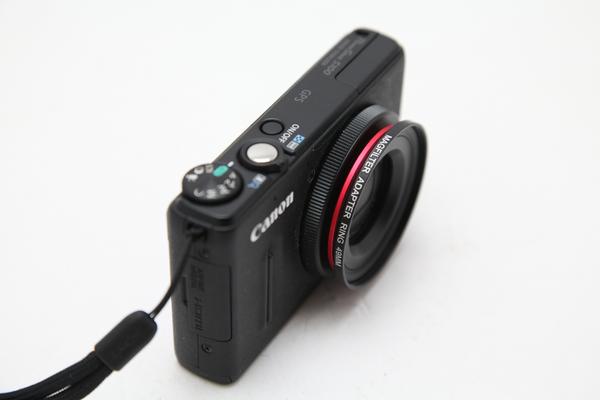
Many compact or “pro-sumer” cameras, the ones without interchangeable lenses, have the ability to accept attachable filters as well. For many of these cameras, you will most likely have to buy a lens tube filter adapter. This attachment screws on over the lens barrel of your camera and allows you to attach filters to the adapter. Filter tubes generally cost between $15 and $25 and can sometimes be left on the camera as an extra layer of protection for the lens barrel. Your best place to find these at great prices is on eBay. Be careful about the one you buy. Poorly designed tubes may cause unwanted vignetting at wide angles.
Compact pocket cameras usually don’t allow for filters to be attached. If your camera cannot accept screw on lens filters, there are kits available consisting of an attachment for your tripod or tripod mount. From the tripod, an extension holds square filters in front of your camera lens. These kits are generally more expensive, but very versatile and interchangeable between different cameras and lenses. A few manufacturers also make a filter holder that will attach to a compact camera with a magnet (Magfilter), allowing for great flexibility and quick removal. My recommendation is to choose a compact and easy-to-use (and carry) solution that doesn’t hinder your enjoyment of photography.
Buying a filter
Filters come in a variety of shapes, styles, diameters, and thicknesses. Quality filters generally come at a higher price.
Photographic filters can cost anywhere between $10 and $300. Generally the more you spend, the higher-quality glass and higher-quality coating you will get. It is recommended when you buy a photographic filter, that you get one that has multiple layers of coatings. Multiple coatings will reduce the amount of reflections and ensure better contrast and more accurate color. Some coatings also offer a layer of protection against scratching.
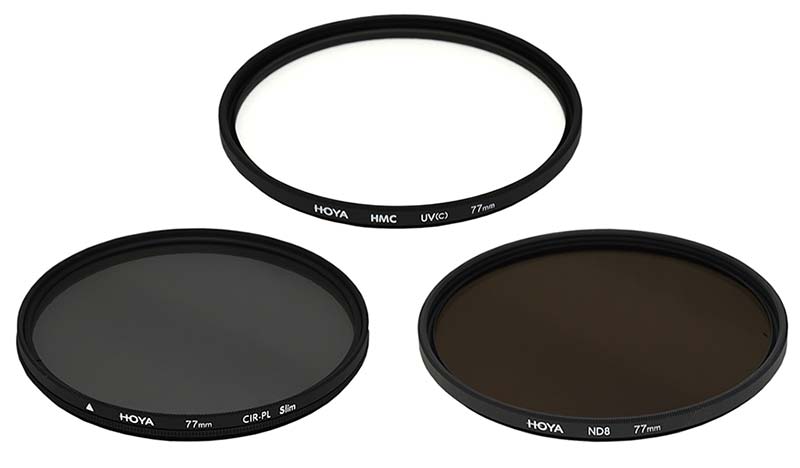
It’s also recommended that you stick with brand names. Some notable and reliable brands for photographic filters are Hoya, Tiffen, B+W, Cokin and Heliopan. You can also stick to the same brand filter as your camera manufacturer, if available. What do we at NYFalls.com recommend? Hoya Filters. They provide the best blend of performance and cost. They are durable and compact, and Hoya is always updating them with new technologies.
Where do you buy filters? The two places I recommend are Adorama and B&H. I have purchased filters for great prices on eBay, but after a few years a set of neutral filters recently faded to a purple tint. It turns out the eBay seller (who is long gone) sold me counterfeit filters. I recommend buying from reputable dealers instead.
Cleaning your filters
Great care should be taken when cleaning your filters and camera lens. You should have the following:
- Blower brush
- Lens cleaning solution (for camera optics, not for eyewear)
- A clean microfiber cloth designed for use on lenses
- Patience
To clean a lens or filter, the first thing you should do is gently use the blower brush to remove any particulates adhering to the glass. Being gentle is the key. Any solid pieces of dust, sand, and dirt can cause scratches when you buff out the glass. Use the blower to blast air to get the larger pieces out of the way, then gently bush the more resilient dirt away. Move the glass around in the light to check to see if there are any more particles or smudges on your lens. Particles should be removed with the blower brush only.
The smudges will require some cleaning solution and a good buffing with a microfiber cloth. Add a few drops of cleaning solution, such as Formula MC to a small, clean area of your microfiber cloth. Never apply directly to the lens or filter, as it may drip to the edge, get in the seams of your lens or filter and be stuck under the glass element. This can ruin your lens! Apply the moist cloth to the glass surface area using side-to-side motions. Side-to-side motion helps minimize the potential scratching possible if you did not remove all the particulates. Then use a dry section of the microfiber cloth to buff away the remaining cleaning solution. Be careful not to press too hard. And wipe side-to-side, never in a circle. Always check your cleaning job, by moving the glass around in the light, to see if you got it all.
Make sure the cloth and solution you use are approved for camera lenses. Don’t use your shirt. Do not use glass cleaning solution, such as Windex, as it may damage the special coating on your glass.
My recommendations
| Filters: | Hoya Brand Filters |
| Cleaning Solution: | Formula MC |
| Blower Brush: | Any brush will do |
| Microfiber cloths for lenses and filters: | MagicFiber |
| Cloth for general camera body cleaning: | Any will do |
| Filter Case: | Tamrac S.A.S. Compact Filter Case |
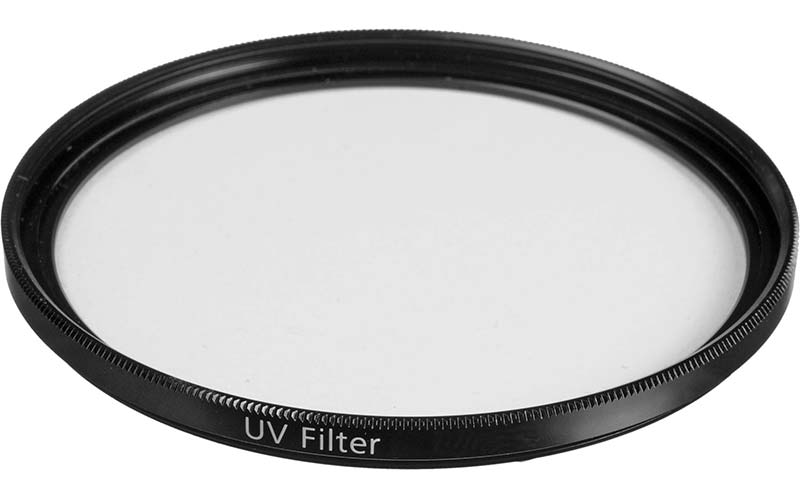
The UV / Protective Filter
More protection for your lens.
The packaging for a UV filter will tell you that by blocking ultraviolet rays from your camera sensor, you will reduce the haze and improve overall contrast of your photographs. I doubt this is true. If UV light was that damaging to photographic quality, all quality photographic glass, including the lens on your camera, would already come pre-coated to block UV rays, and you wouldn’t even need a UV protective filter. Even so, I highly recommend buying a UV protective filter. Why? For the protection… the physical protection. UV filters are so inexpensive; I recommend you leave it on your camera at all times to shield the more expensive lens of your camera. A high quality UV filter will run you about $25, while replacing a damaged lens could be 20 times more than that amount. So with a UV filter you can rest assured that you have an extra layer of protection on your very expensive lens.
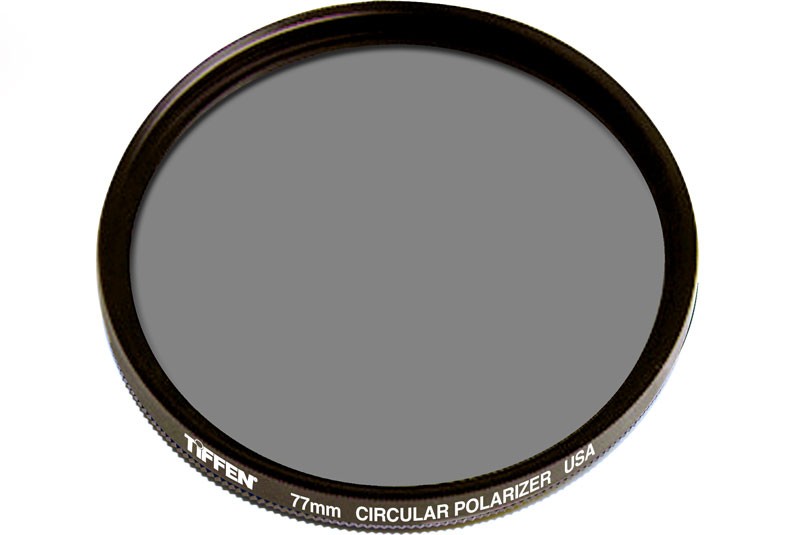
Polarizing filters
This must-have ‘miracle filter’ is the landscape photographer’s best friend.
A Polarizing filter is a must-have for an outdoor photographer. You will get results from a polarizer that you will not be able to replicate in software, even if you are a Photoshop expert.
There are two types of polarizing filters: Circular and Linear. Circular seems to be the most widely available and versatile. It’s the only one I recommend. What a circular polarizer will do for you is:
- darken blue skies
- remove reflections from water
- remove glare from wet surfaces
- remove the shine from foliage resulting in deeper colors
- saturate colors from reflective surfaces
In a nutshell, a polarizing filter reduces glare just like polarized sunglasses do. It counters the effects of strong sunlight, reducing glare from just about everything; from water to the sky. When you get rid of glare you improve the contrast and saturation of your scene.
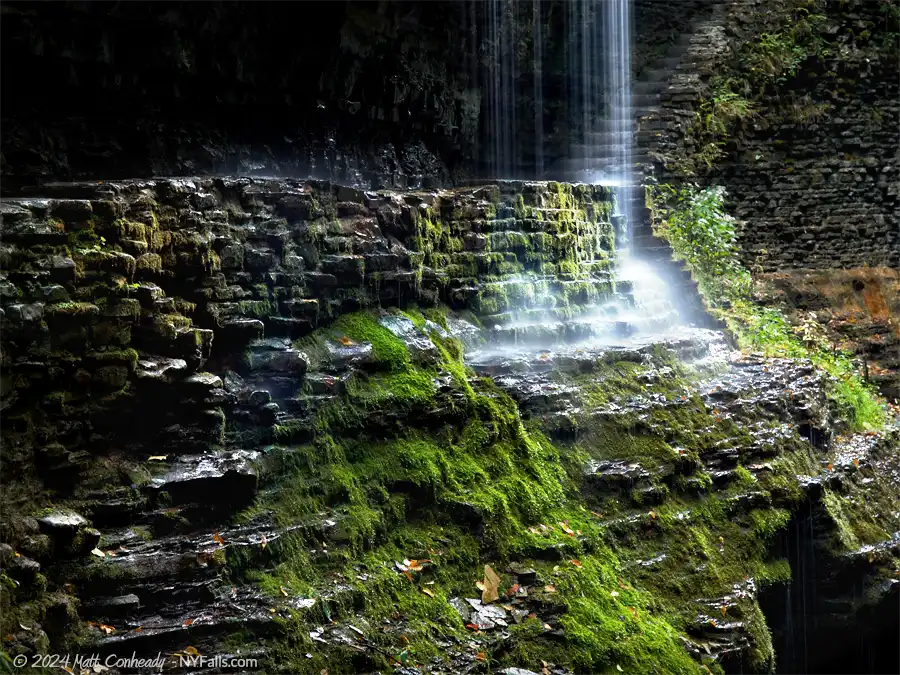
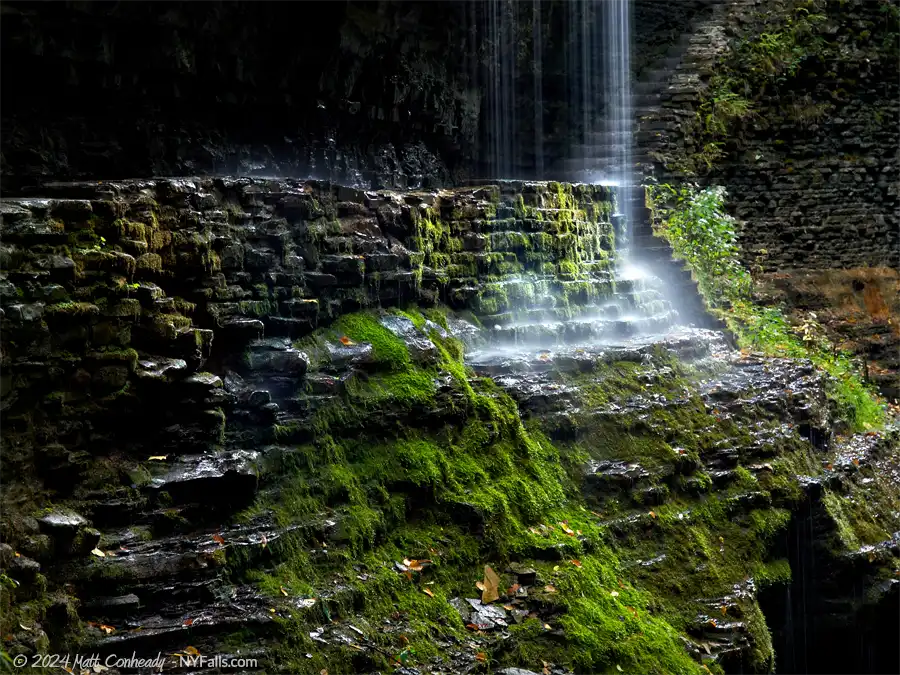
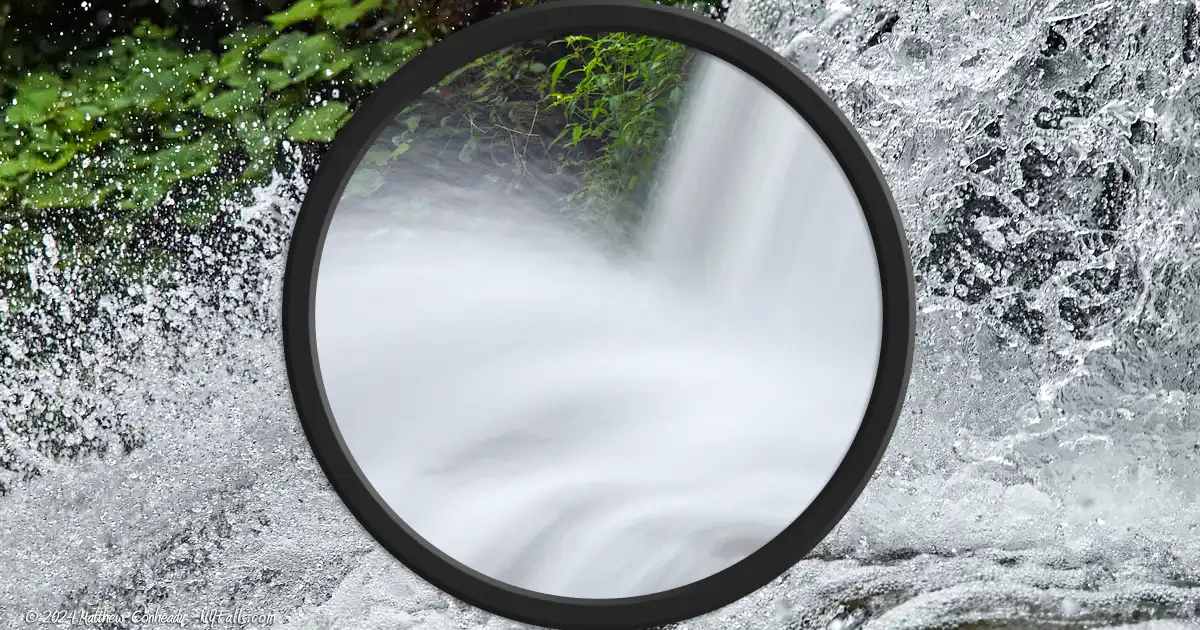
In this scene from Watkins Glen State Park, sunlight caused glare in water, wet moss and stone around Rainbow Falls (left). A polarizing filter was able to reduce the glare (right) with the added benefit of increasing the richness of the colors.
Sounds great, doesn’t it? So if a polarizing filter is so great, why aren’t all camera lenses polarized? There are some disadvantages to polarization. Polarizing filters tend to darken the scene, allowing less light to enter the lens, which means the lens performs slower. Shooting with a polarizer means the shutter has to open longer to capture enough light. This can result in blurrier or noisier photos. Polarizing filters are also made of two layers of glass. One stationary layer, and one that is rotated. Two additional layers of glass can reduce the quality of a lens, increasing reflections, distortion and vignetting. A higher-quality, thinner polarizer can reduce those effects, but will add a significant cost to the camera. So, the option is yours. If you don’t mind the trade-offs of a polarizer, you can attach one to your lens as needed.
Using a polarizing filter is fairly easy. It has two rings. Rotating the outer ring will align the crystals of one layer of glass with the other. When the crystals are aligned properly, you will see the glare in the scene greatly reduced. To more clearly see this reduction, point your camera towards a blue sky or a wet surface with reflections. The sky will become a dark blue, and a wet surface will darken and saturate as the reflections disappear. Stop rotating when the effect is at its height.
When using a polarizer filter, it is important to keep in mind that the effect is most prominent when the scene you are photographing is positioned 90° from the sun. The effect will not be noticeable at all when photographing towards the sun or with the sun behind you. If you’re using a wide angle lens, the scene you are photographing may have portions that are 90° from the position of the sun and some that aren’t, which gives a gradient effect of darkening across the sky. Some photographers do not like this effect, but since most skies do not have a consistent brightness anyway, most people will not know this is the effect of a polarizing filter.
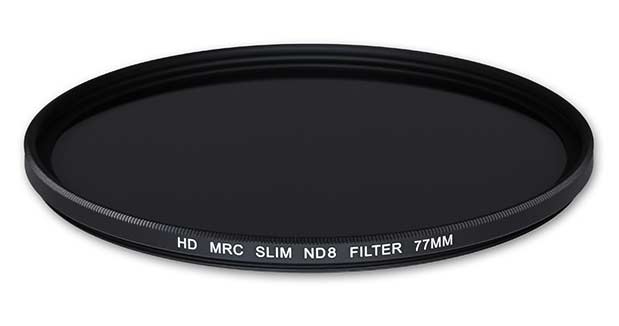
Neutral Density filters
If you like the silky-smooth effect on the falling water of the many waterfall pictures on the site, then you like the effects of the Neutral Density (or gray) filter. Think of the Neutral Density filter as the Ray-Ban sunglasses of the filter world. The job of a Neutral Density (ND) filter is to reduce the amount of light reaching the camera lens without affecting the color of the scene.
If the light entering the lens is cut by 50%, then the shutter has to stay open twice as long in order to properly expose the scene. While the shutter is open for twice as long, the camera is picking up all the water movement that happens during that time and blending it all together in one shot. This leads to the blurring or “silk” (or some call it “cotton candy”) effect on moving water. The darker the scene, the longer the shutter needs to stay open to get a proper exposure, and the more water that rushes past, blurring the scene as the shutter stays open. The longer the water rushes through the scene, the more blending occurs and the result is a stronger blurring effect. To achieve the silk effect, you need to have your shutter open for at least 1/15th of a second. If you kept the shutter open long without a filter, it would just result in an overexposed image (often completely white). Using a Neutral Density filter will help prevent that.
The silk effect is strengthened by the fact that the rest of your scene, the surrounding rocks and the trees, which hopefully aren’t moving while the shutter is open, remain sharp in the resulting photo. It is important to keep in mind that anything that is moving while the shutter is open will end up being blurred. This includes any foliage that may be moving because of wind or any people or animals within the scene. It’s also important, since the shutter will be open for longer than average, to use a sturdy tripod. Photos will be a blurred mess from any handheld shots with a ND filter.
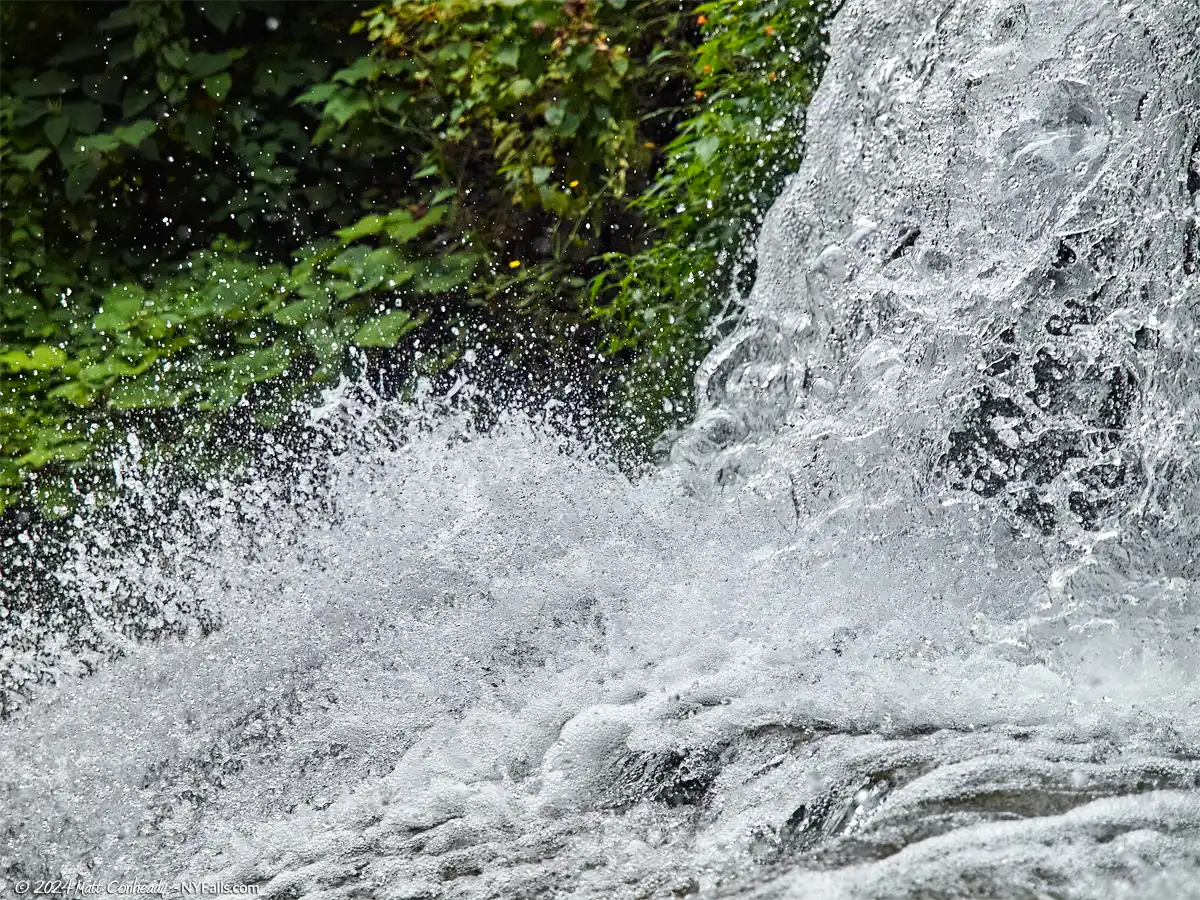
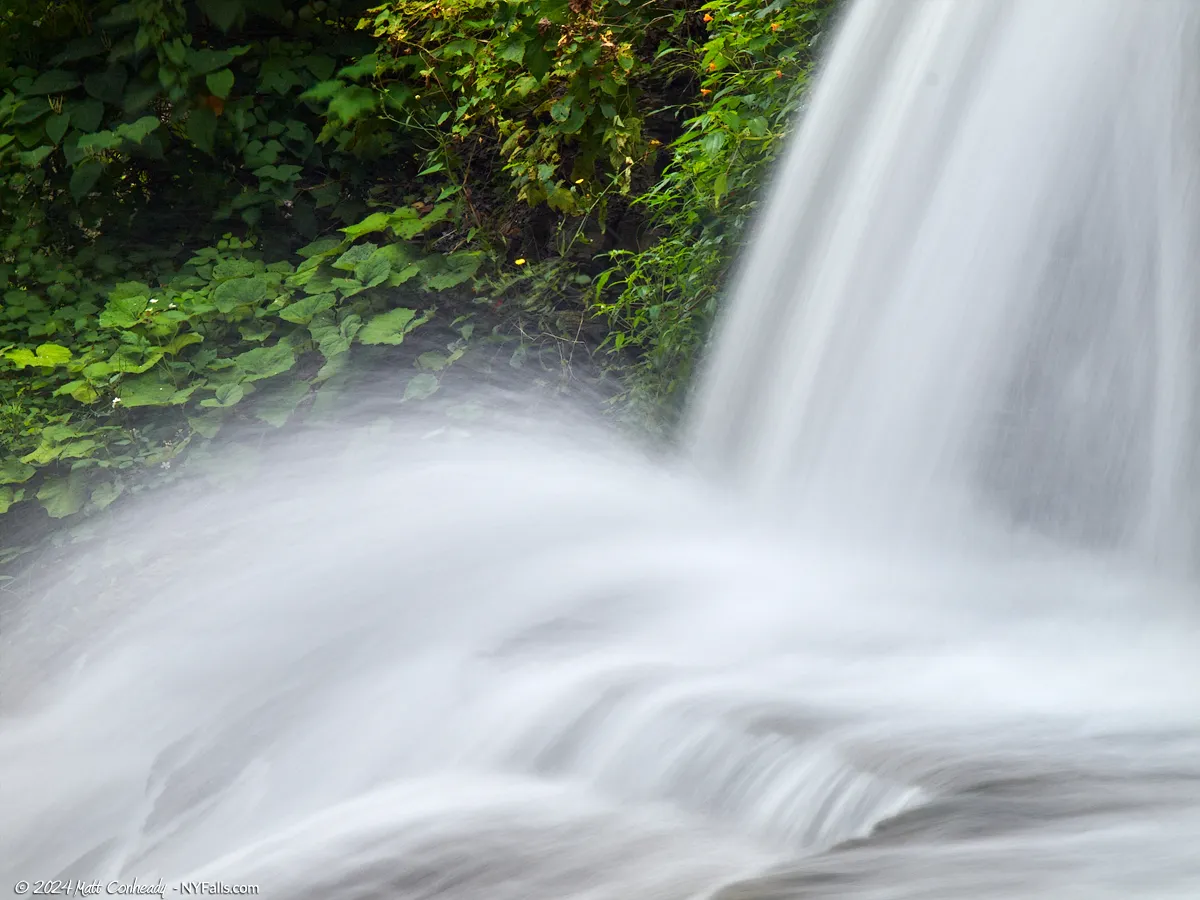
On the left, no filter was used and the shutter snapped this shot in 1/2500th of a second. On the right a strong Neutral Density filter was used (ND8) and the shutter was open for 1/8 of a second, resulting in a blur of the water. THE ND filter prevented the scene from becoming overexposed.
There are three ways to darken a scene to get the silk effect on your water. The first is to shoot after the sun goes down, or before the sun rises, when there is less light. Unfortunately this also changes the colors of the scene and you limit the time available to shoot. The second is to close your aperture (increase the f-stop), which may not be enough for some lenses, and may change the depth of field beyond what you want for your composition. The easy way to reduce light without changing other factors is to use a neutral density filter.
The neutral density filter can be purchased in different strengths; ones that will reduce the light slightly and others that are strong enough to tame direct sunlight. They are specifically designed so as not to alter the color of the scene. When buying a ND filter it’s recommended that you buy various strengths and use them based on the lighting conditions of your scene. If you could just buy one, I recommend starting out with and ND8 for bright scenes or ND4 for those in the shade.
One may also choose to invest in a Half ND filter if they shoot a lot of landscapes. These specialty filters are half gray and half clear glass and are great for shooting scenes in which half the scene is of normal brightness (the ground) and half needs to be tamed by the effects of an ND filter (the sky). These filters come in different strengths, like regular ND filters, but also varying degrees of softness in the transition between the gray half and the clear half. In the digital age I can’t recommend a half ND filter as much as a regular ND filter anymore. If the landscape shot has lighting conditions that are so diverse, I recommend shooting two photographs, one for exposing for the ground or water and the other exposing for the sky. Then you can combine them in Photoshop.
The silk effect of a full ND filter can be imitated in Photoshop, but it is not nearly as good as the real thing. So if you want your waterfall photos to have the silk effect, I can’t recommend a set of Neutral Density filters enough.